Montabi Charms Guide
Passive power for the whole squad—from your Trainer’s starting bonus to Gotcharm gambles.
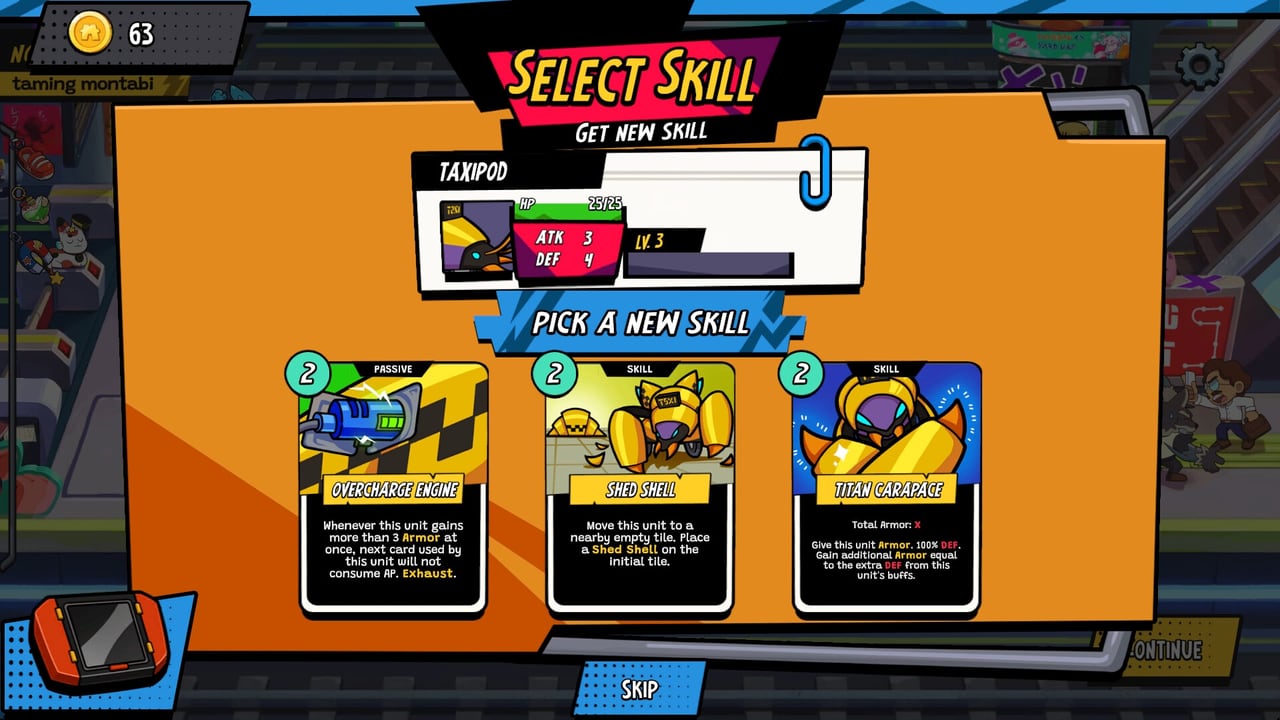
Charms are Montabi’s team-wide passive items. Once you acquire a charm during a run, its effect typically applies to every Montabi and your Trainer without spending action points or deck slots. That makes charms the backbone of long-term scaling: while equipment personalizes one fighter and supplies spike individual turns, charms quietly raise the floor of every fight until the run ends.
Your charm plan starts at character select. Each Trainer—including popular picks like Student, Fighter, and Chef—brings a distinct starting charm identity that nudges entire runs toward draw consistency, aggressive positioning, or sustain. This guide explains how charms differ from equipment, where to buy them, how Gotcharm RNG fits your route, and when to skip another charm for Stickards or supplies.
Charms versus equipment and supplies
Equipment requires a free slot on a specific unit and only buffs that wearer. Supplies leave your inventory when used and can be spammed in a single turn if you stock enough copies. Charms occupy a separate passive list: they do not consume hands, AP, or grid space, which is why charm-heavy routes feel smooth once the economy clicks.
The trade-off is opportunity cost. Convenience store charms cost real gold that could buy revives, food, or a fight-winning sticker. Gotcharm offers are random. Over-buying charms that duplicate your Trainer starting bonus or your build theme yields diminishing returns, while ignoring charms entirely leaves you short on damage or defense during boss checks.
Trainer starting charms and run direction
Trainers are not just stat sticks—they ship with charm logic that mirrors their playstyle. A Student Trainer often rewards information and card flow, so charm picks that reduce dead draws or reward playing many cheap skills compound that identity. A Fighter Trainer wants tempo in the melee row, so charms that reward adjacent attacks, bonus AP after movement, or flat damage pair well with movement builds. A Chef Trainer skews toward sustain, so charms that amplify healing, food, or long combat phases shine when you stock supplies from the convenience store.
You do not need to mirror every Trainer default charm with purchased charms, but you should avoid fighting your Trainer. If you are playing Chef with a pantry of healing items, a charm that only buffs first-turn burst may underperform compared with one that rewards multi-turn wars.
Buying charms: convenience store vs Gotcharm
The convenience store lists identifiable charms with prices you can plan around. Use it when you know exactly which passive closes a gap—extra draw for Student comps, retaliation for grid control, or defensive layers before a boss.
Gotcharm is the random charm station. It is ideal when your gold is awkwardly high for your act but shelves elsewhere are weak, or when you want a high-variance spike that might define the run. Gotcharm is less attractive when you still lack baseline equipment on empty slots or when you need deterministic supplies before the next elite.
Neither shop replaces the Cafe, where healing and deck thinning still matter more than another charm on act one. Refer to the Items Hub for a full map of shops including Stickards and the Vending Machine.
Stacking charms without wasted overlap
Most runs can support multiple charms as you progress, but intelligent stacking looks for complementary axes:
- Damage amplification plus status synergy for Bleed, Sour, or Spicy routes
- Draw or retention plus AP efficiency for combo decks using Innate Stickards
- Damage reduction plus healing multipliers for Chef sustain teams
Watch for redundant passives—two charms that only raise generic attack power without helping your Montabi cards may be weaker than one charm plus a well-placed sticker that adds Sour on strike.
Charms and the 3×3 grid
Charms apply during tactical turns even when you spend AP on movement. That makes them essential for movement builds that reposition every round: passive bonuses that trigger on tile changes or on hitting from specific ranges keep paying off while you kite elites across the grid.
Charms also interact with capture and team sizing. You rarely field more than a Trainer plus two Montabi, so team-wide charms efficiently buff your entire active roster without needing per-unit duplication like equipment.
Economy tips across the run
Early act: one charm OR one major equipment piece, not both unless a sale event makes it free. Mid act: charms that define your win condition—status, burst, or sustain—before luxury rolls. Late act: spend remaining gold aggressively; unused charms in the shop die when you finish the path.
Compare every charm purchase against Best teams recommendations and the Tier list so you do not buff a Montabi you plan to bench.
Related pages
- Items Hub —all item types and shop list
- Equipment —single-slot gear for carries
- Supplies & Stickards —consumables and card mods
- Trainers —starting charm identities
- Builds Hub —team archetypes that pick charms first
Frequently Asked Questions
Quick answers to the most common Montabi questions.
Do charms need to be equipped on a Montabi?
No. Charms are passive team-wide items once acquired. They are not placed in the single equipment slot on each unit.
Does my Trainer starting charm count as a purchased charm?
Your Trainer begins with their own charm identity separate from shop purchases. Plan additional charms to complement that starting passive, not duplicate it blindly.
What is Gotcharm for?
Gotcharm is a shop node that offers random charms. It is useful for high-variance runs when you need passive power but convenience store stock is weak.
Can charms apply to Supplies or Stickards?
Charms modify how your team behaves in combat according to their text. Supplies and Stickards remain separate systems, but charms can amplify outcomes such as damage after applying Sour or healing from food.