Montabi Equipment Guide
One slot per fighter, big passive swings, and smart shop timing.
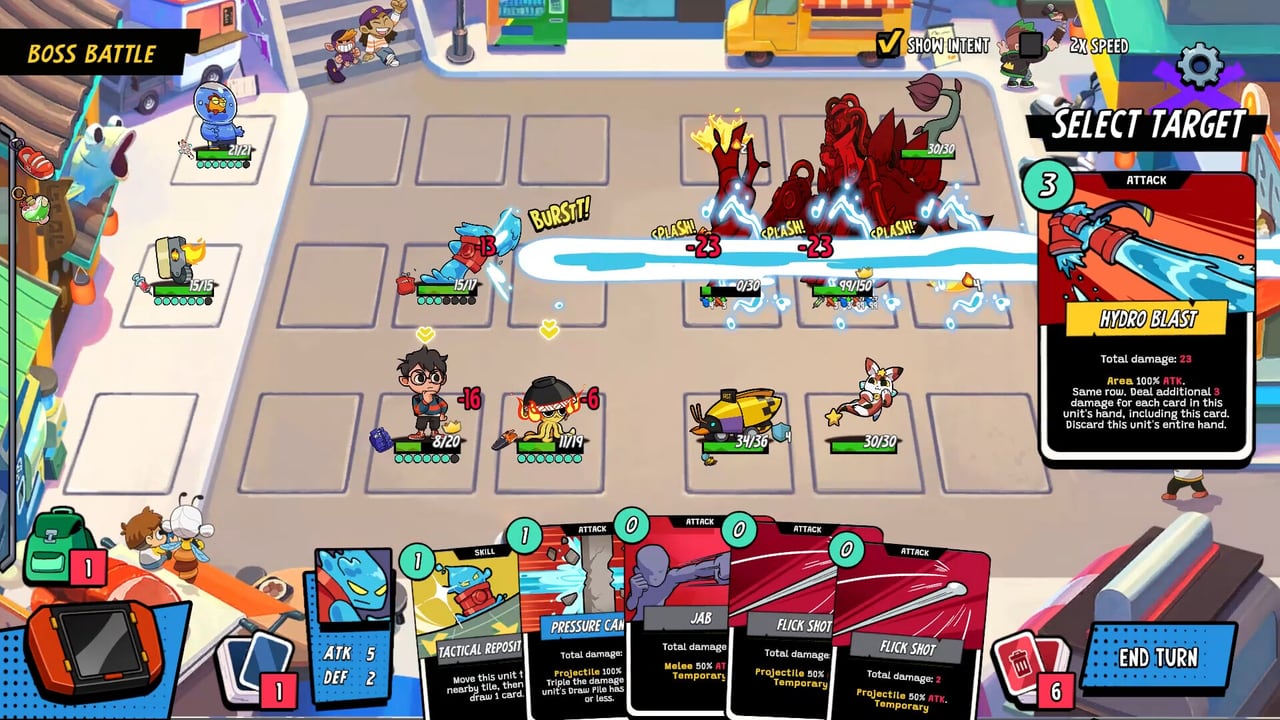
In Montabi, Equipment is the most personal layer of power: each Trainer and Montabi on your roster gets exactly one equipment slot, and whatever you place there only helps that unit. Charms blanket the whole team; Supplies spike individual turns; Stickards rewrite cards. Equipment is the steady, always-on bonus that makes your carry Montabi hit harder, your Trainer survive an extra blow, or your support creature cycle cards faster. Because slots are scarce—you rarely field more than a Trainer plus two Montabi—every equip decision is effectively a vote for who wins the run.
Understanding equipment is essential before you chase random vending machine drops or clear out a convenience store shelf. This guide explains how slots work in combat, where gear appears on the map, and how equipment interacts with charms, supplies, and the builds you are aiming for.
One slot, one beneficiary
When you open the equipment screen mid-run, you see each active team member listed with a single socket. Assigning gear is instant and reversible at the convenience store sell counter, but you cannot stack two pieces on the same Montabi. That rule pushes you toward role clarity: your front-line bruiser wears damage or lifesteal-style passives, your ranged Montabi wears accuracy or AP-adjacent bonuses if available, and your Trainer—who plays like the chess king—often wears pure survivability.
If the Trainer falls, the run ends regardless of Montabi HP, so defensive equipment on the Trainer is never wasted on easy floors. Conversely, offensive equipment on a Montabi you plan to replace after the next capture is often a mistake unless it sells for enough gold to fund Stickards.
What equipment actually does in fights
Equipment passives trigger according to their text—common patterns include flat stat bumps, conditional bonuses after movement, extra damage against debuffed enemies, and mitigation against status effects like Sour or Spicy. Because Montabi combat uses a 3×3 grid with meaningful range on physical attacks, equipment that rewards positioning pairs naturally with movement builds. Equipment that amplifies Bleed or other DoTs pairs with status builds.
Equipment does not consume AP and does not appear in your four-card hand each turn. That makes it reliable fuel for Fighter style teams that spend every action point on attacks, and a safety net for Student teams that dig for combo pieces before committing to the line.
Where to find equipment on a run
You will acquire gear from three main sources:
Convenience store listings show named equipment with fixed prices. This is the best place to buy exactly what your comp needs when you have gold and know your carry Montabi will survive several more nodes.
Vending Machine rooms offer randomized equipment pulls. Treat them as variance reducers when your slot is empty and the upcoming path looks dangerous, not as a primary strategy. Selling vending junk back at the store keeps your economy from stalling.
Events and rewards occasionally grant equipment outside shops. When the Guides Hub walkthrough mentions optional elites or story nodes, those sometimes drop slot pieces that outpace store tier for that act.
Gotcharm and Stickards shops do not replace equipment planning—they solve different problems. If you visit the Items Hub shopping checklist, equipment sits alongside charms as a pre-boss priority when your team is already dealing enough damage but dying too fast.
Shopping and selling discipline
Gold is finite until the next fight. Use this priority ladder on most runs:
- Fill empty slots on Montabi you will keep for at least two more nodes.
- Upgrade Trainer survival before glass-cannon Montabi damage if the next map icon is a mini-boss.
- Replace side-grade gear only when the sell-back difference is small or the new passive synergizes with Stickards you already applied.
- Sell obsolete equipment before buying charms you do not need—inventory clutter does not hurt, but gold in pocket does.
Chef trainers often benefit from equipment that stretches effective HP because their value shows up over long fights with food and healing supplies. Student trainers may prefer equipment on Montabi that draw or retain cards, delegating Trainer gear to pure defense.
Synergies with charms and Stickards
Equipment stacks with team-wide charms. If a charm increases outgoing damage globally, offensive equipment on your carry multiplies that value. Stickards that add Sour on hit love equipment that rewards attacking debuffed targets, a pattern covered more deeply under status effects.
Avoid double-dipping redundantly: if a charm already grants substantial block or healing, offensive equipment on the same unit that also heals with supplies may be overkill unless you face burst enemies listed high on the Tier list.
Trainer-specific notes
Each Trainer changes how aggressively you can equip front-line Montabi. Position-focused Trainers want equipment that rewards tiles moved; melee Trainers want gear that pays off adjacent attacks; support Trainers want gear that makes supplies or charms stronger. Full archetype write-ups live in Best teams and the dedicated Trainers section.
Common mistakes
Equipping your newest capture before checking its deck role wastes gold when you release it two nodes later. Chasing vending machine rarity while ignoring a perfect convenience store buy is another classic leak. Finally, hoarding three spare pieces “just in case—when Stickards could define your win condition slows scaling—equipment should stabilize the team, not block build-defining stickers.
Where to go next
Return to the Items Hub for shop routing, read Charms for team passives, and plan sticker budgets in Supplies & Stickards. When your slots are filled, pivot to Builds Hub for movement and status routes that use your gear efficiently.
Frequently Asked Questions
Quick answers to the most common Montabi questions.
How many equipment pieces can each Montabi wear?
Each Montabi and your Trainer has one equipment slot. You cannot equip two items on the same unit at once.
Does equipment affect the whole team?
No. Only the unit wearing the equipment benefits from its passive. For team-wide effects, use charms instead.
Is vending machine equipment worth the gold?
It is worth rolling when a slot is empty and the next fights are tough, but named convenience store purchases are usually more reliable for targeted comps.
Should the Trainer always wear defensive equipment?
Not always, but defensive Trainer gear is a strong default because Trainer defeat ends the run even if your Montabi are healthy.